As of v4.7, Email Template Manager allows templates to be managed in the application and no longer requires WebCheckout Support. Please schedule an upgrade to the latest release version to benefit from this feature.
If you require WebCheckout Support, please contact support@webcheckout.net for a Professional Services quote.
______________________________________________________________
Email templates can be customized via the template editor and with the assistance of our Support team. Editing email templates are formatted with HandleBars and require some HTML knowledge.
Send customized templates to support@webcheckout.net following the instructions below. Please allow 3-5 business days for emails to load into production, and a restart may be required. Failure to follow instructions below may delay the time to load templates into production.
How to Use the Email Template Editor
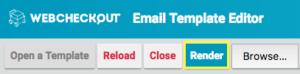
1. Open the template editor in your browser.
2. Click Close.

3. Click Open a Template.

4. Select the desired template to load.

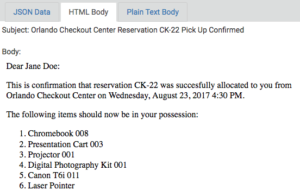
5. Click Render to view the HTML and text of the selected template.
6. Edit the Message Template on the left.
- Be sure to include inline HTML style.
- CSS files are not compatible.
- Items wrapped in {{ }} indicate fields from WebCheckout. JSON Data tab on the right will show available WebCheckout fields per template.

7. Click Render to view changes reflected in the HTML Body section on the right. Continue to make changes as needed, and click Render again to view changes.
- Clicking Reload will cancel all changes made to the selected template and reload the original template.
- Clicking Close will also cancel all changes made to the selected template and close the Editor. Click Open a Template to start anew.
8. Once changes are made to the template, click Save Locally. File should be saved in your Download folder or as directed. Do NOT rename the file. Renaming the file may result in return of the file, requesting you to relabel with the original file name.
![]()
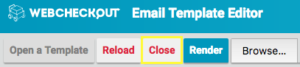
9. Click Close then follow steps #3-#8 to edit other templates.
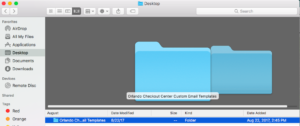
10. Once all desired templates have been updated and saved, create a New Folder within your computer and add all edited templates to this folder.
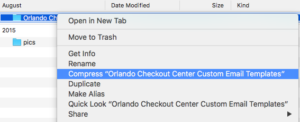
11. Clearly label the folder “[Checkout Center or Organization Name] Custom Email Templates” including the Checkout Center or Organization name the templates will be applied to. The name of the folder will be used to create the directory name in WebCheckout.
12. Folder may need to be compressed or zipped. Email folder to support@webcheckout.net and specify which Checkout Center(s) or Organization the templates will be applied to.

13. Once Support has applied templates, please be sure to select the Email Template Set from the Checkout Center General tab.
14. To reload edited and saved templates, click Browse to select and load template, then Render.
Notes
- For versions 4.7 and newer, please see Email Template Manager.
- Some HTML codes can be found here.
- Email template formats are in HandleBars. For for information on this format, please visit: http://handlebarsjs.com/
- Review Auto and Reminder Email Settings.